One bright and cold Saturday in February, I gathered with fellow students at the Ottawa Valley Weavers’ and Spinners’ Guild to learn how to make a wet-felted hat. It was a wonderful workshop and I highly recommend all of the Guild’s workshops! The group I was with were a fun and cheerful group, and it was great working together and chatting through the workshop.
It has been on my wishlist to make a wet-felted hat class for quite some time now. I’d seen a YouTube tutorial on how to make a tall witches hat, which I watched a few times withe fascination and then promptly lost the link.
I had tried making a beret over the Christmas holidays – I keep forgetting to post about that – but it was not terribly successful. I now see one reason was that the tutorial I was following recommended TWICE as much wool as I needed.
At first I thought I might make a nice tall witchy hat, but I might save that project for when I have a bit more experience. Instead, I went for a cloche hat, sort of in a flapper style. And because I like to make everything more complicated than it has to be, I thought it would be fun to try to make it coral on the inside and a stormy dark grey on the outside.
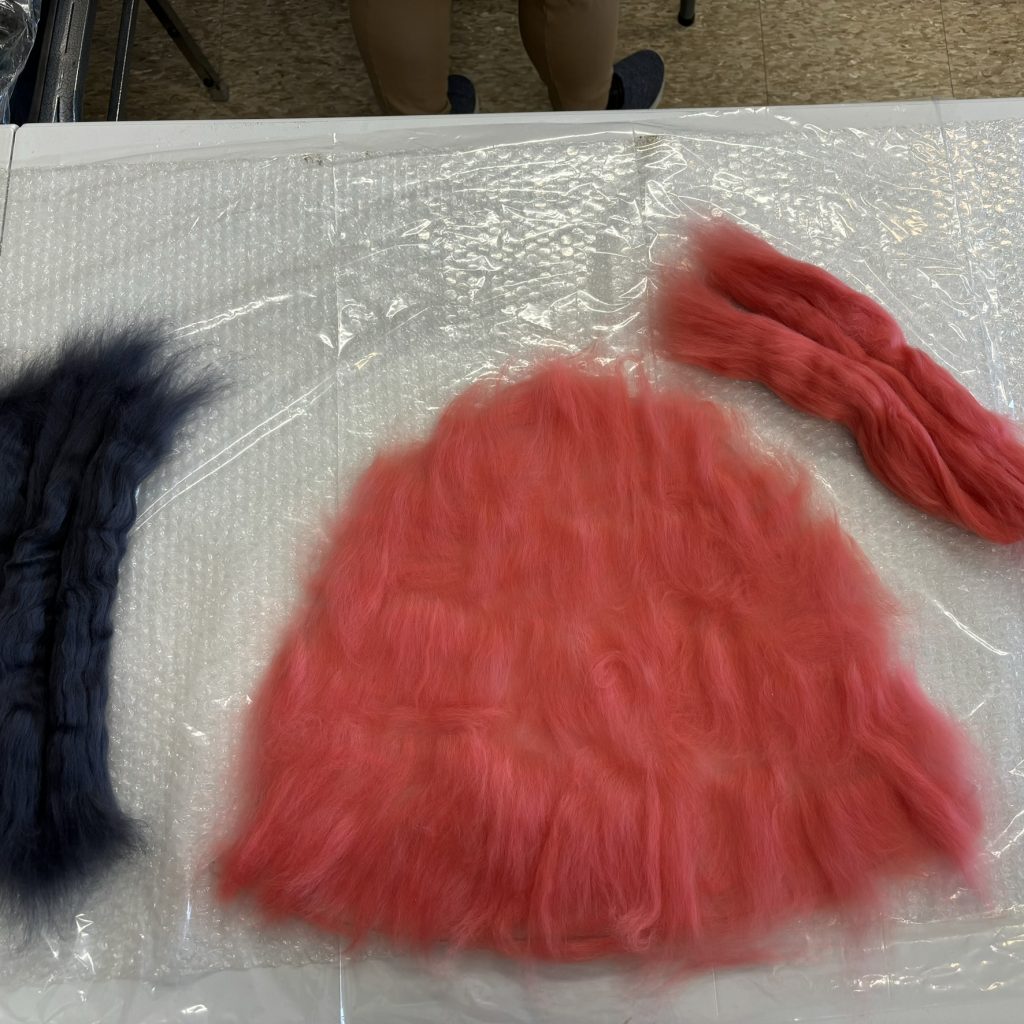
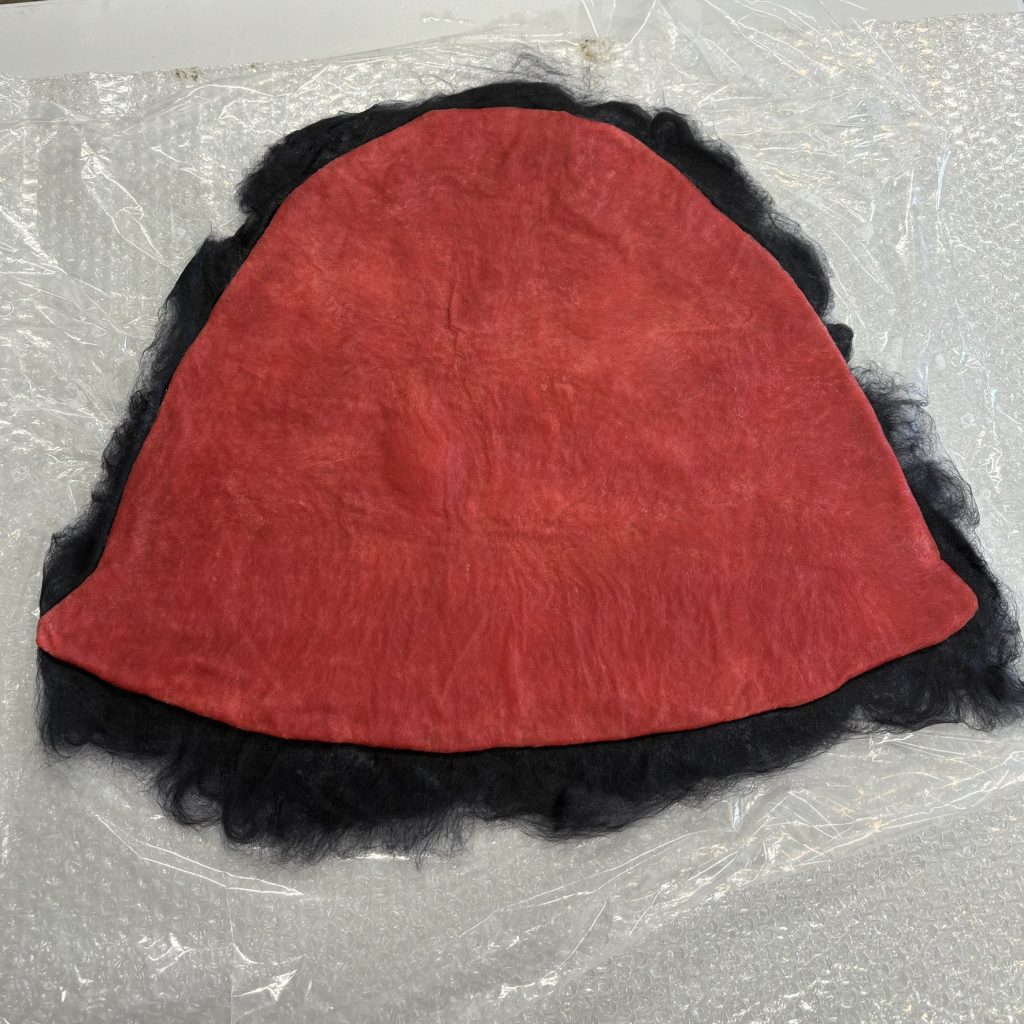
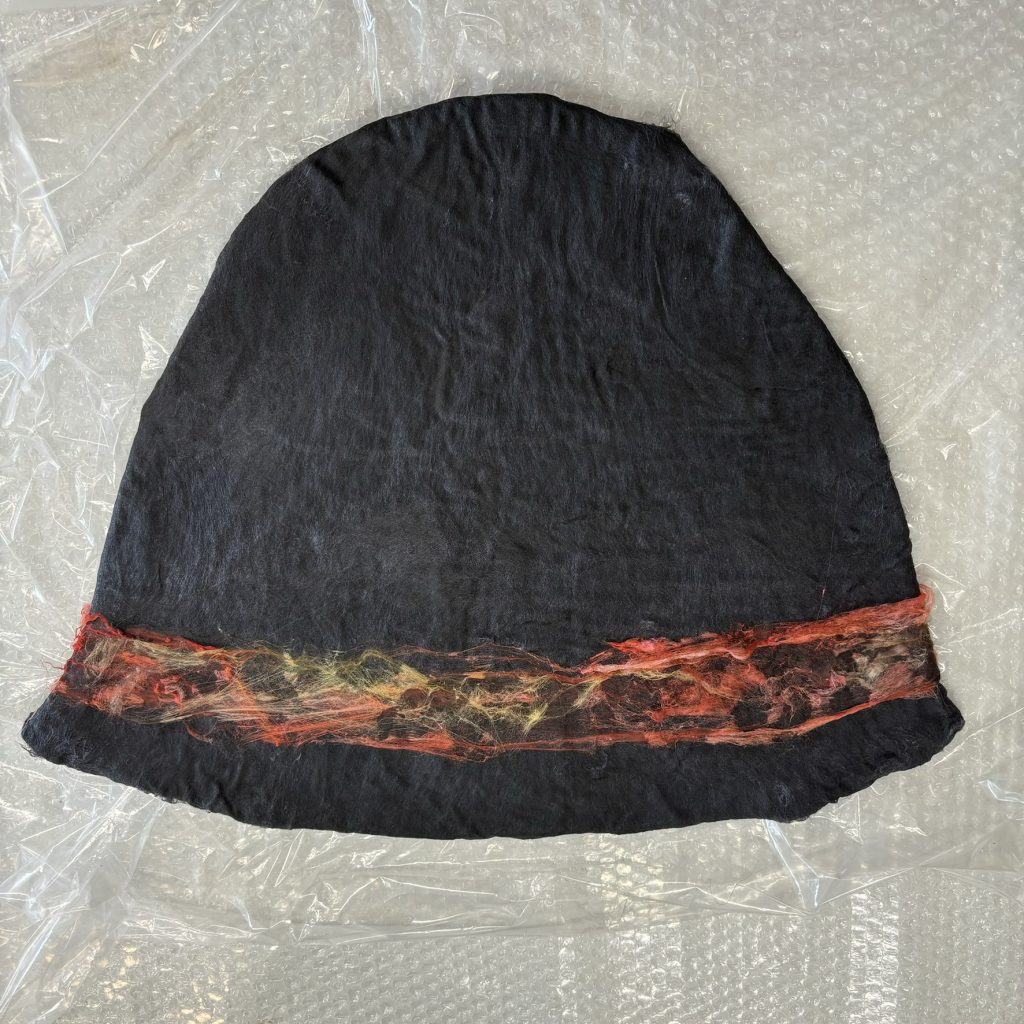
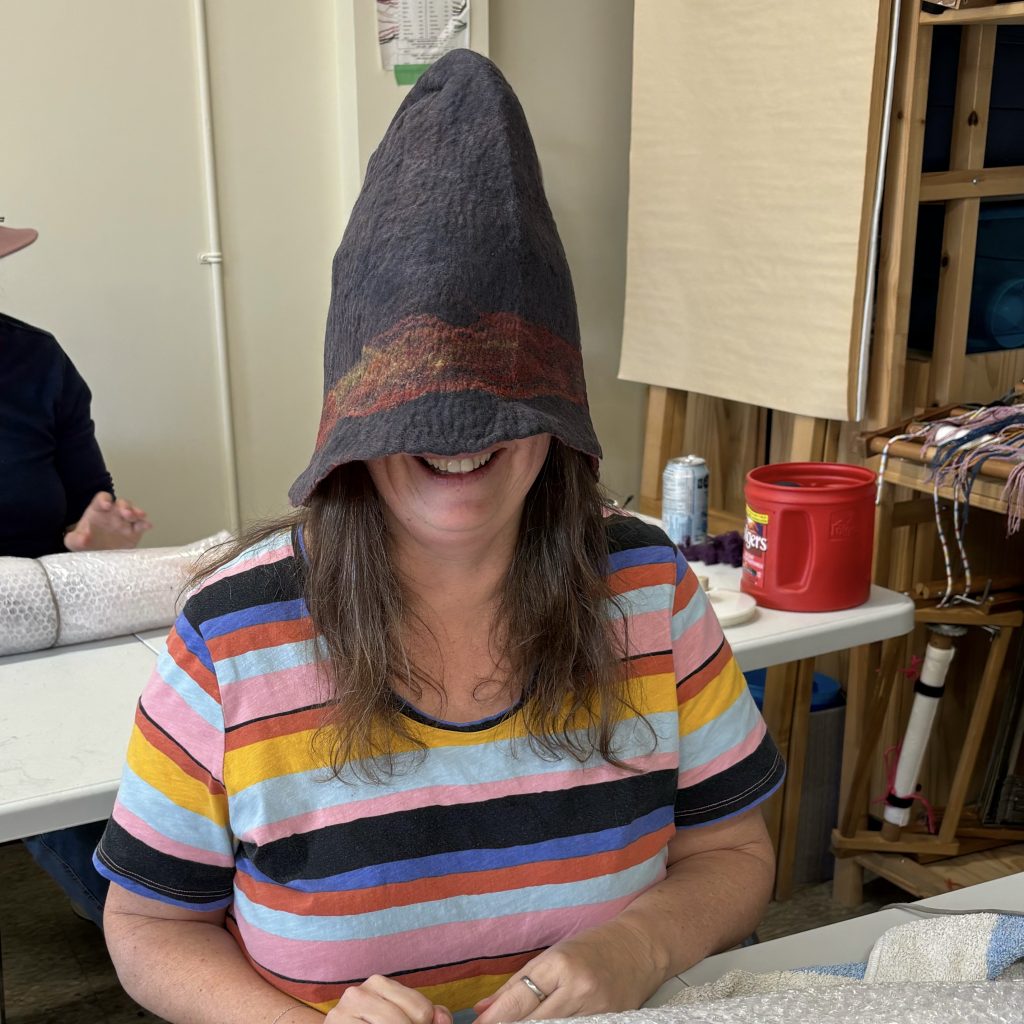
Even after 400 rolls and then 400 more, the hat was still just a wee bit too big (and I have an exceptionally large noggin!) But instructor Ann showed me how to shrink it by rolling it in the direction that it needs to shrink, and then how to do more targeted rubbing – in the photo below, directly on my head. Free head massages with every wet-felting wool hat classes!
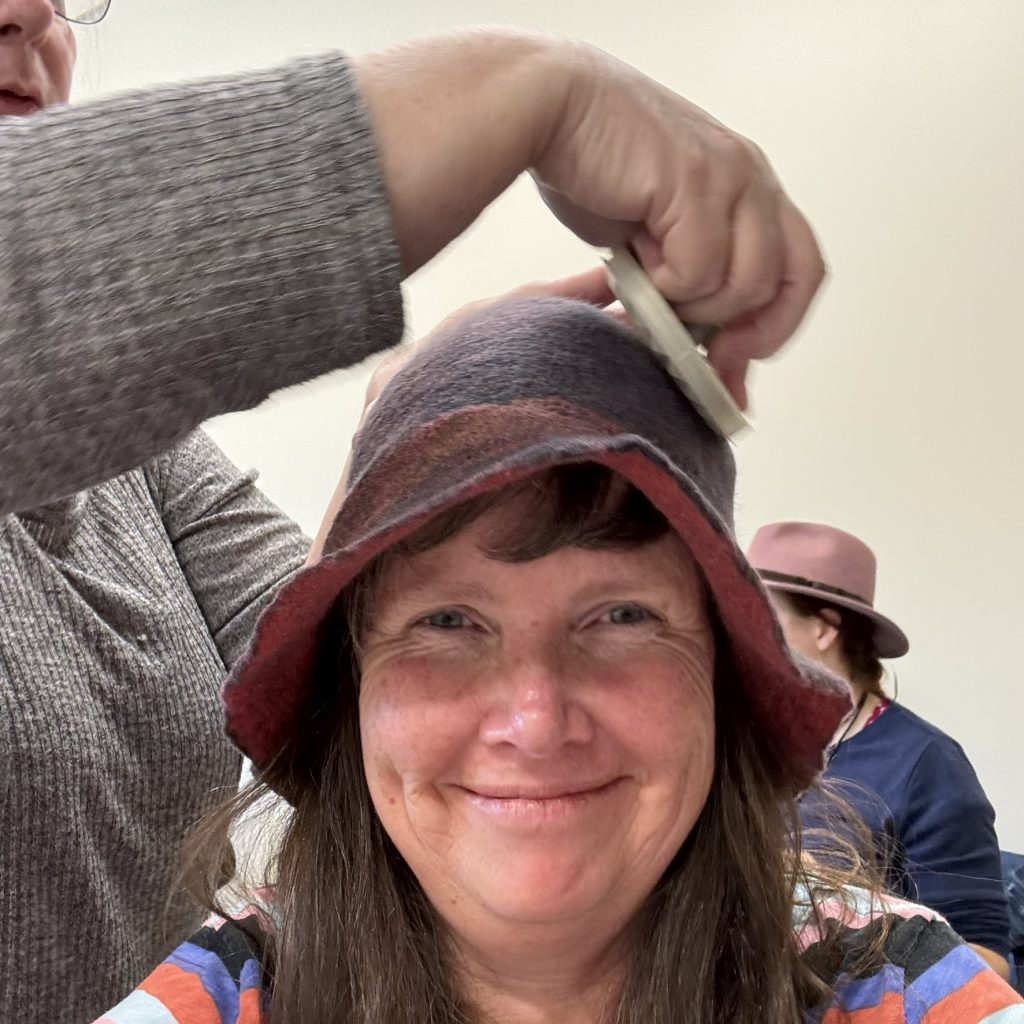
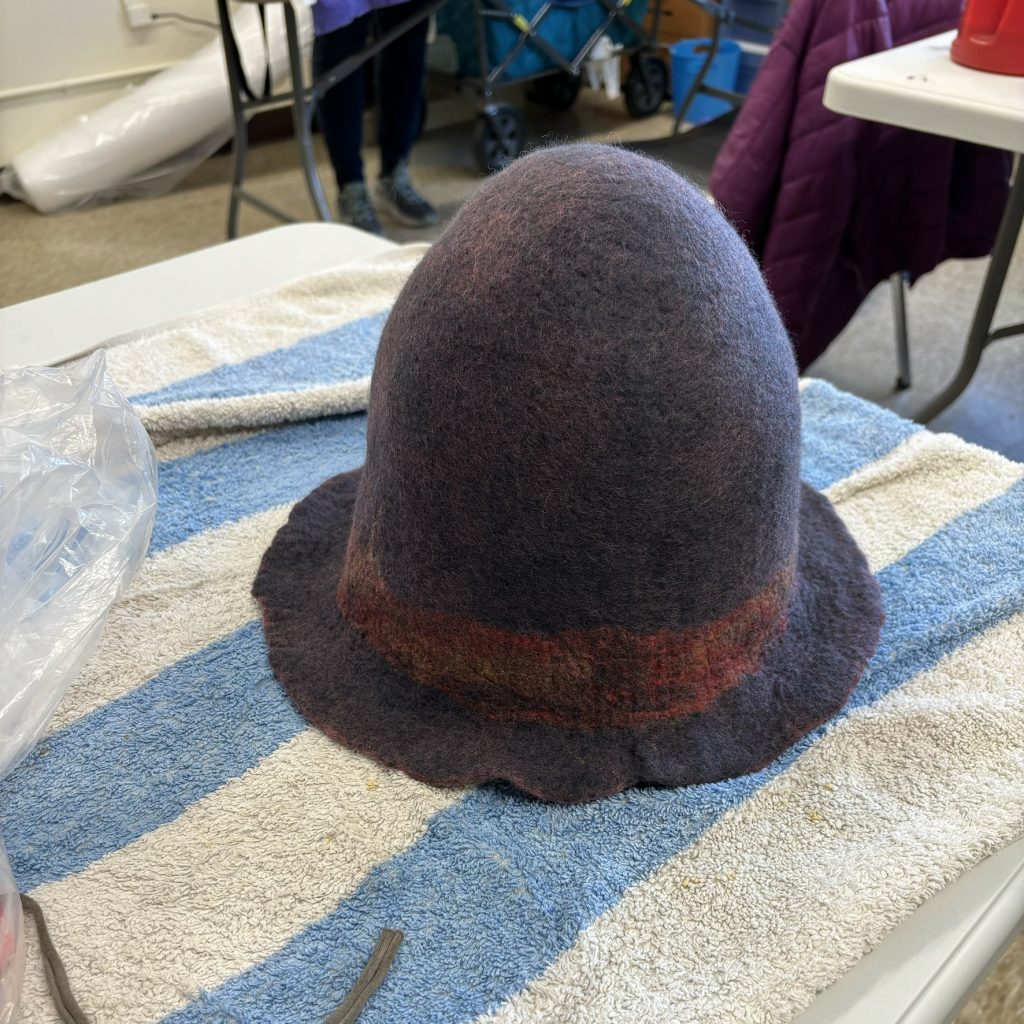
I was skeptical that I would get it down to size but it worked! I’m quite happy with it so far. I made the brim just by tugging and rolling the brim. Wool is so forgiving!
It’s not done yet, though. I have a vision for a big floppy flower and a buzzy bee to be needle-felted on. I’ll be back with part 2 of this post when it is done.
